Tideline and Shells Mural
Water Damage Renovation
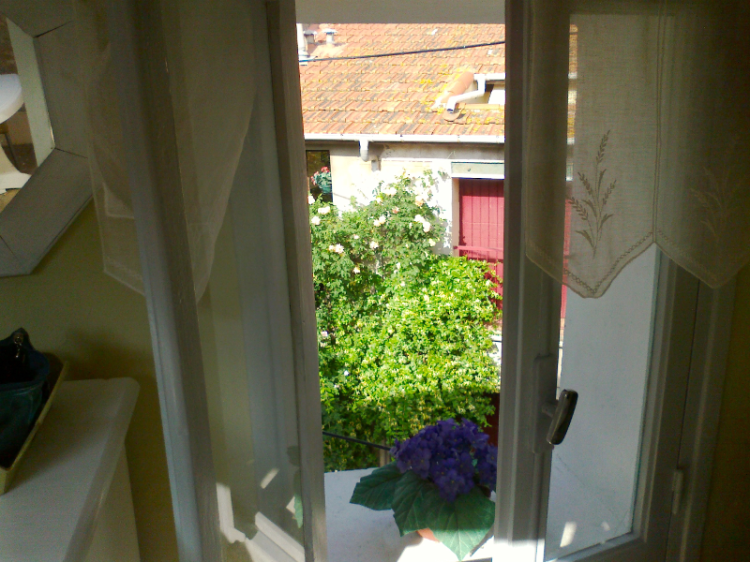
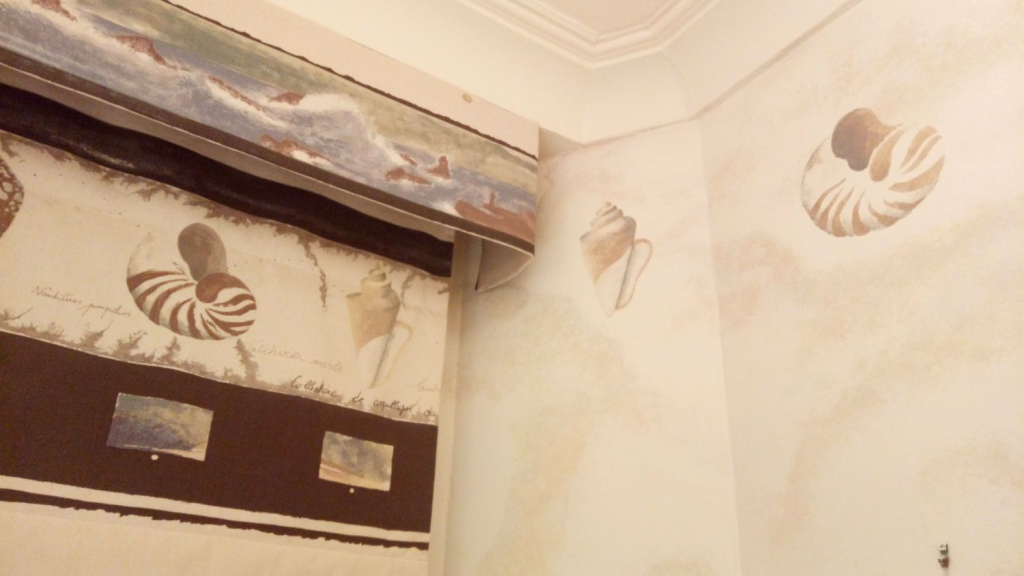
Bathroom overlooking this view of Exe Estuary
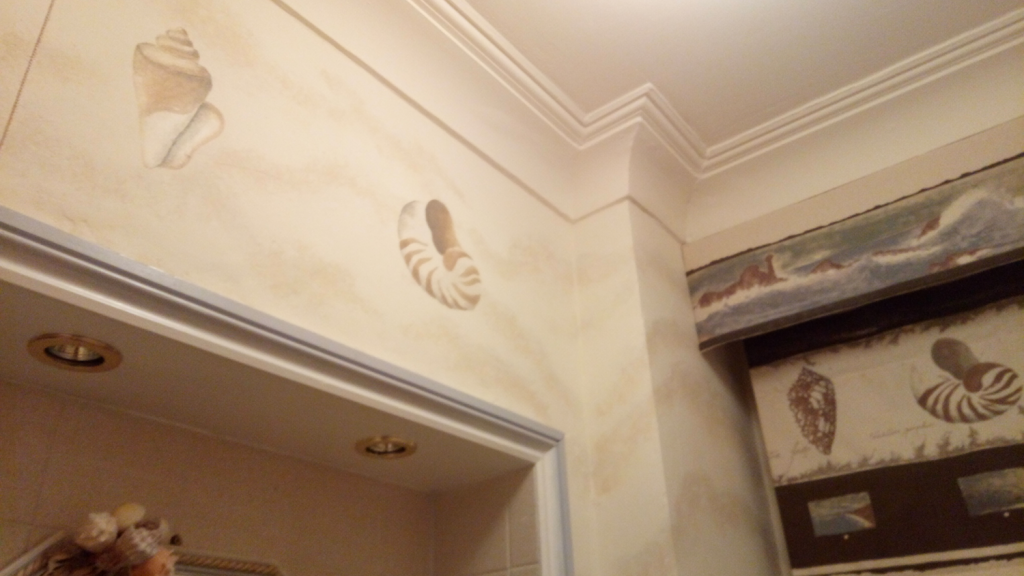
Original sand and shells mural has water damage from roof to one wall corner at right of window blind: drip lines are seen behind paint. Customer had extensive damp repair carried out above ceiling and requested entire repaint of bathroom.


Renovation work: Repainting background tide lines.
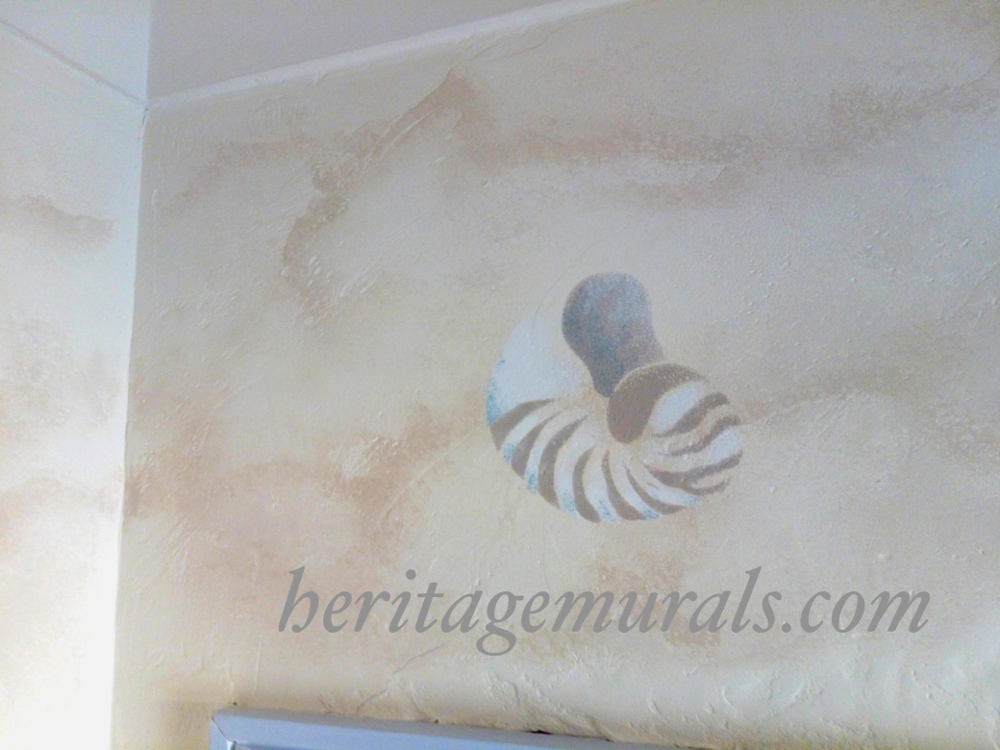
Original mural ‘sand ripple’ lines were damaged from water stains behind emulsion paint, so the wall was re-rendered with a new emulsion coat. New outlines were painted as guidelines with a small decorating brush, copying from photos of original painting. The ocre colour dried darker than intended so was ‘knocked back’ paler with several more sponged layers of lighter tones, by blending the background emulsion with a paler ocre, and a pale grey.


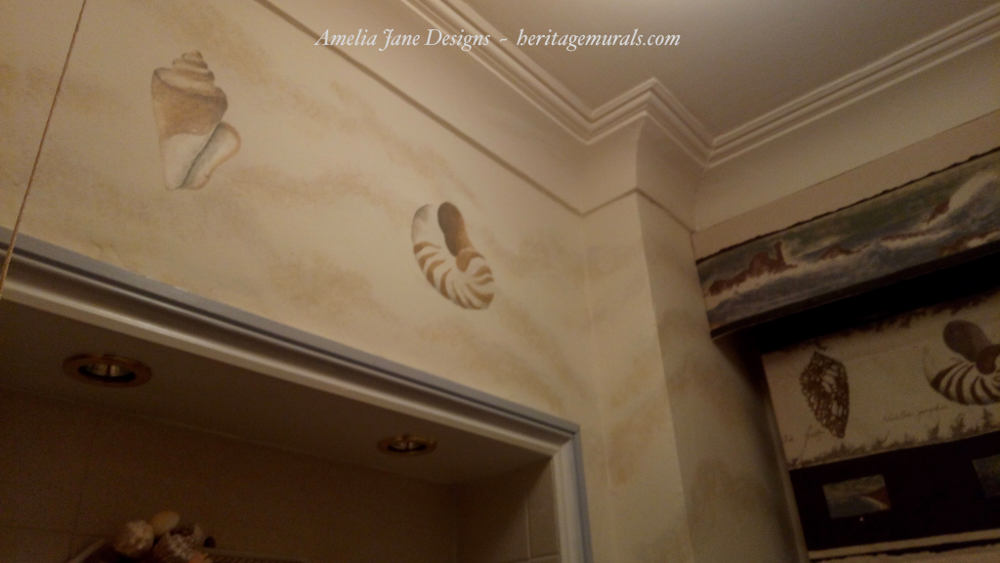
Its a very small bathroom so only a few images were needed, copying the shells from the blind fabric print, against a textured ‘sand’ ground.


Marking out base lines: The original wall finish had been rough plastered and the edges of different depths of plaster surface were used as ‘tidelines’, which looked very natural due to the hand process of applying the plaster. However the new wall surface was not the same, so there was not the same guide.

Base sand lines in layers 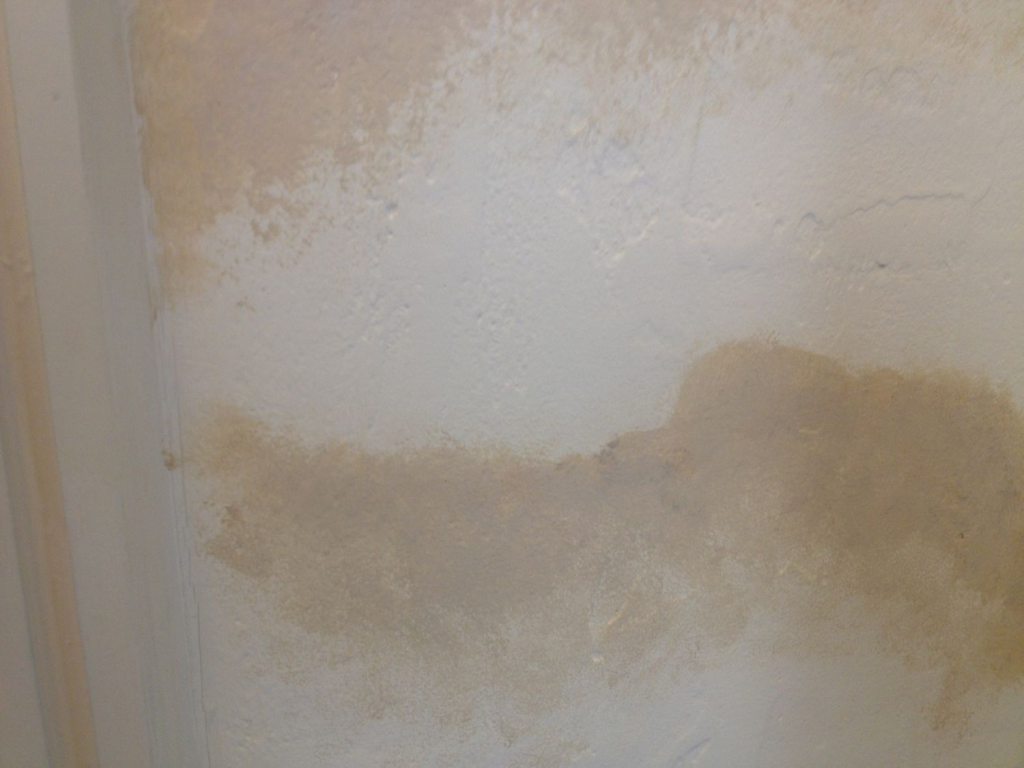
Close up base sand lines 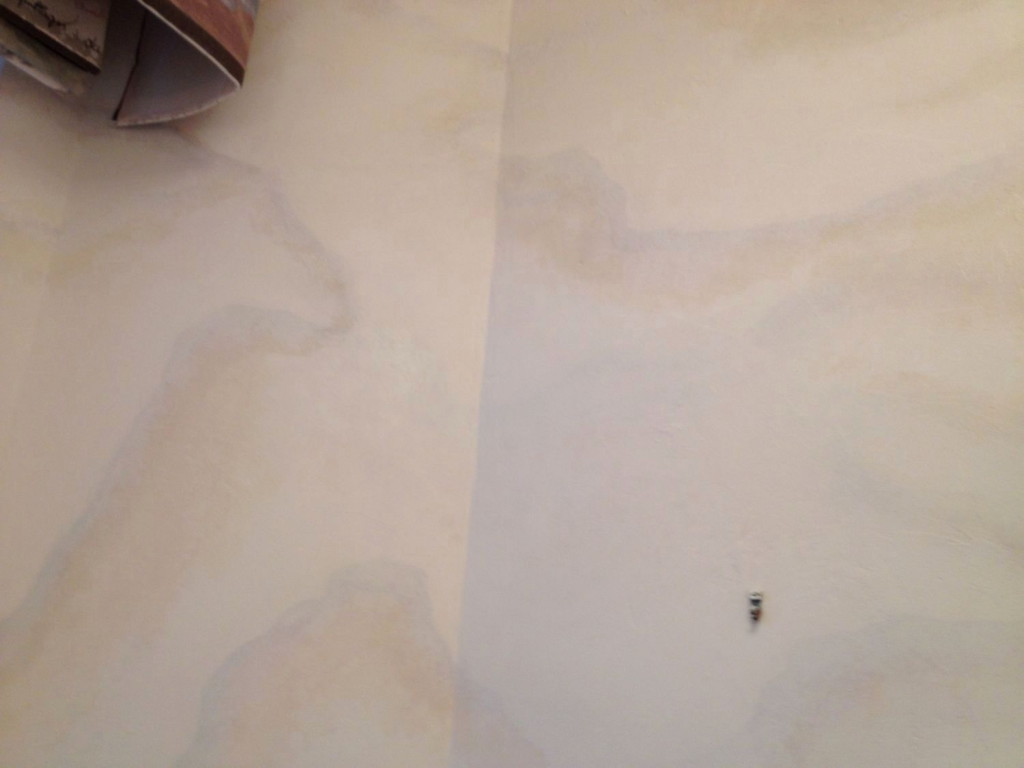
Sand layers lightened 
Background sand lines lightened, sponged. 
Background corner sand lines, lightened.
To achieve the muted sand lines similar to the original effect, I used several applications of lighter and darker coloured cream and beige applied with a real coral reef sponge, for natural effect, until the wall appeared more like the original soft look. Some sections of ‘tide lines’ were painted out completely with background emulsion colour, to create a balanced texture.
Similar ideas with beach tide mark designs and shells can be commissioned at ameliajhoskins@gmail.com
See more of my previous murals at http://heritagemurals.com (currently under reconstruction)